
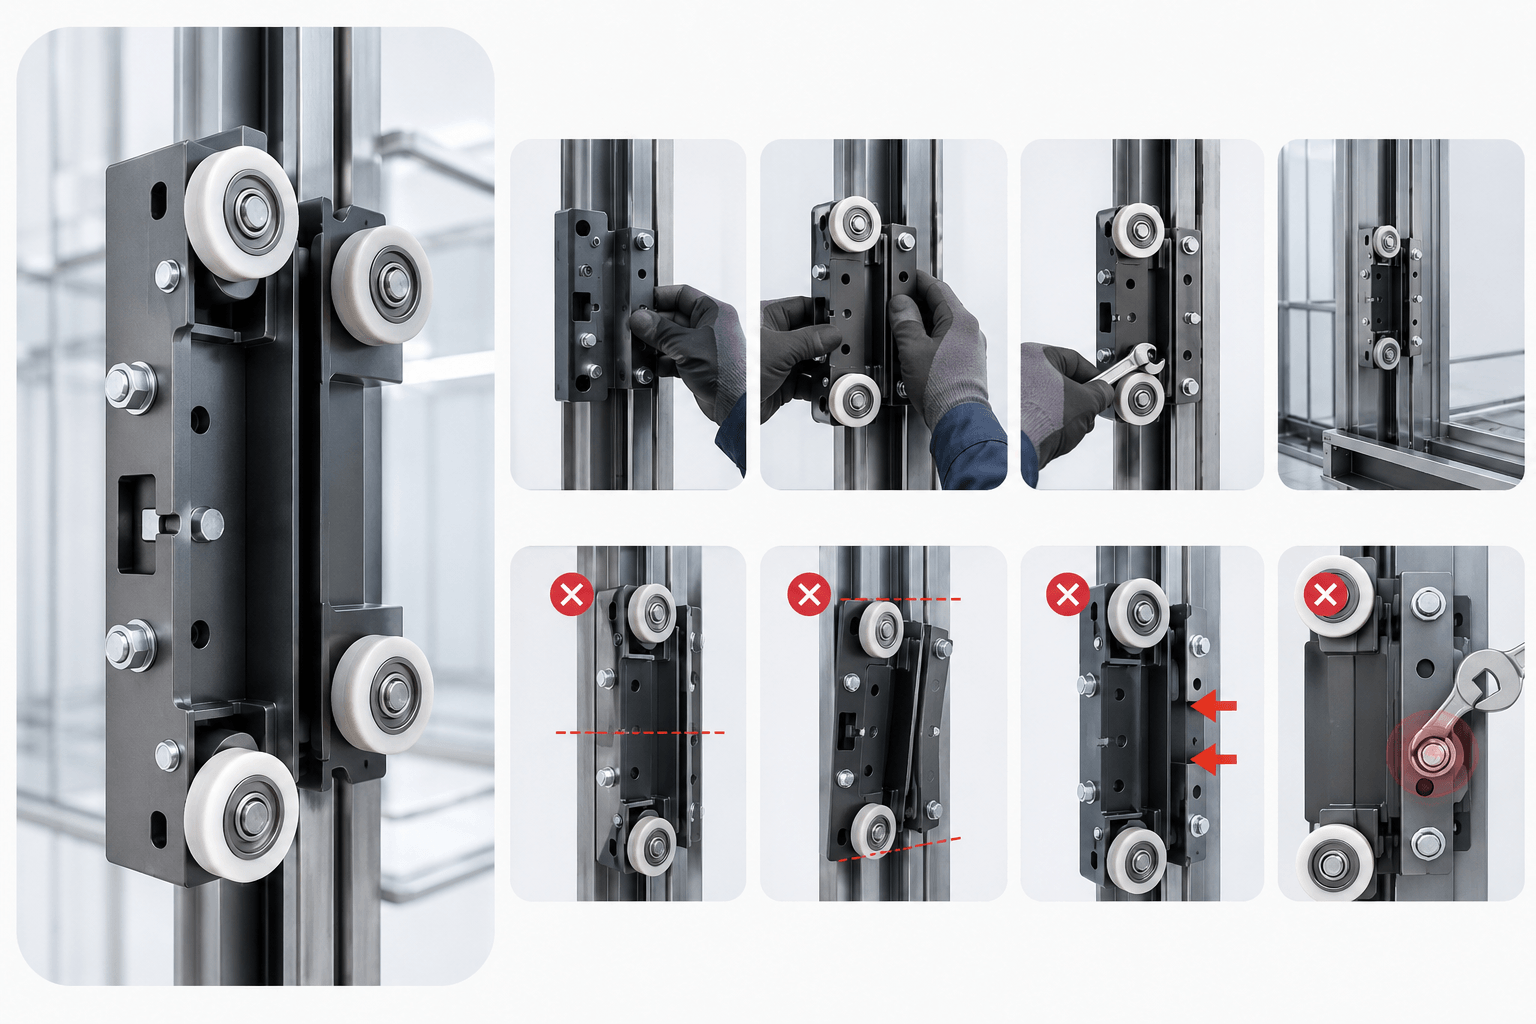
Roller Guide Shoe Elevator Installation Steps & Common Mistakes B066
Related Posts
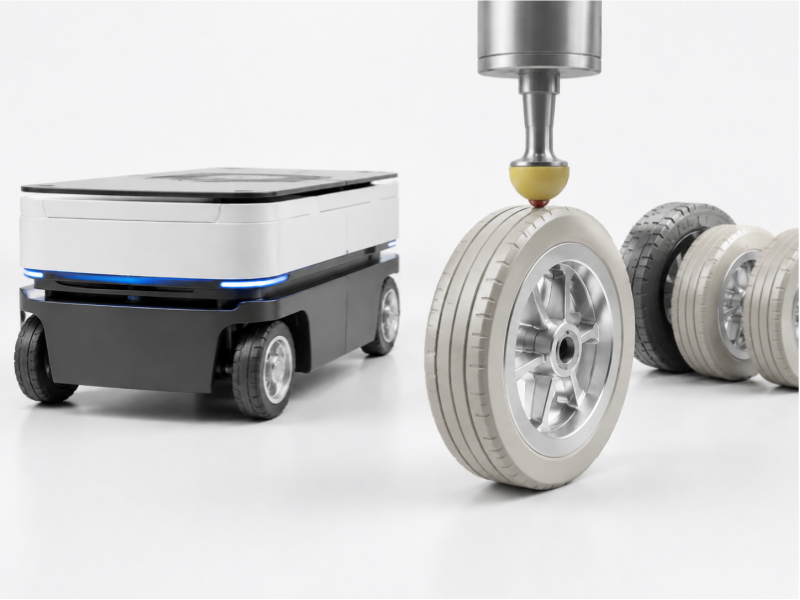
Rubber Wheels for Robot Car: How Custom Shore A Hardness for Reliable Performance B105
This guide explores how rubber hardness dictates traction and stability in rubber wheels for robot car designs, highlighting Ginotek’s tailored OEM/ODM solutions to eliminate wheel slippage.
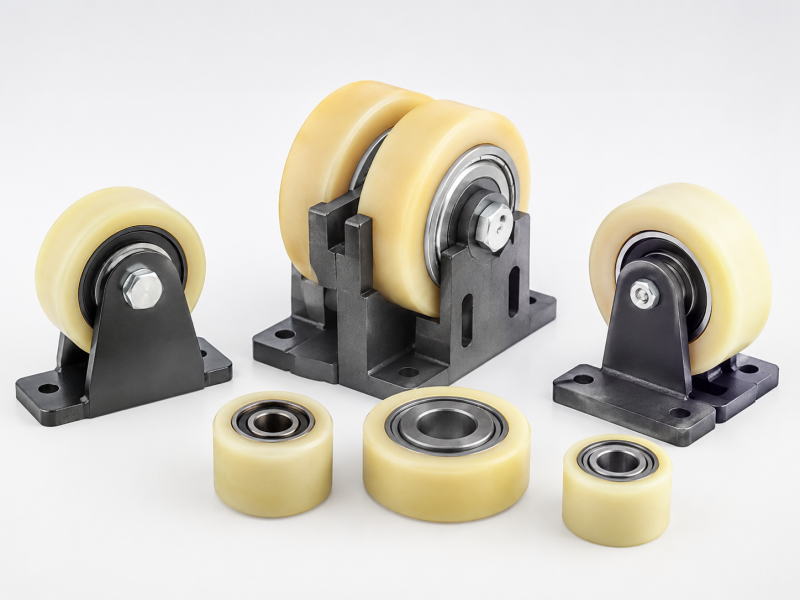
Custom Elevator Guide Shoe Rollers: Tailored Solutions for Superior Elevator Stability and Performance 5
Why Custom Elevator Guide Shoe Rollers Are Becoming Essential
As modern elevator systems continue evolving toward higher speeds,...
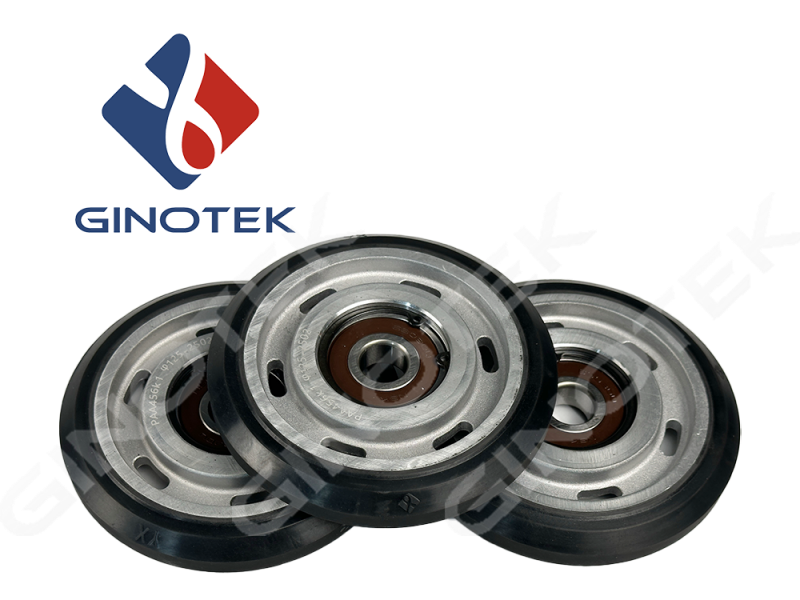
Critical 125mm Elevator Roller: How to Select Premium Rollers for Passenger Lifts B096
This comprehensive procurement guide by Ginotek outlines key checkpoints for evaluating a 125mm elevator roller, focusing on material composition, precise dimension tolerances, and OEM customization for global buyers.
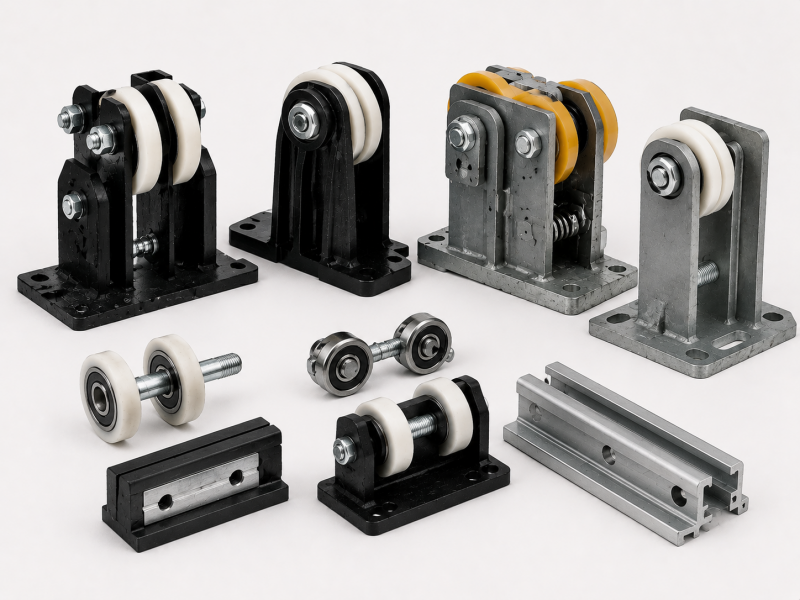
Elevator Roller Guide Assembly Sourcing Guide: Critical Factors for B2B OEMs B092
For elevator OEMs, selecting the right Elevator Roller Guide Assembly is vital. This technical guide explores critical evaluation factors—including load capacity, polymer material formulations, and strict global compliance standards.
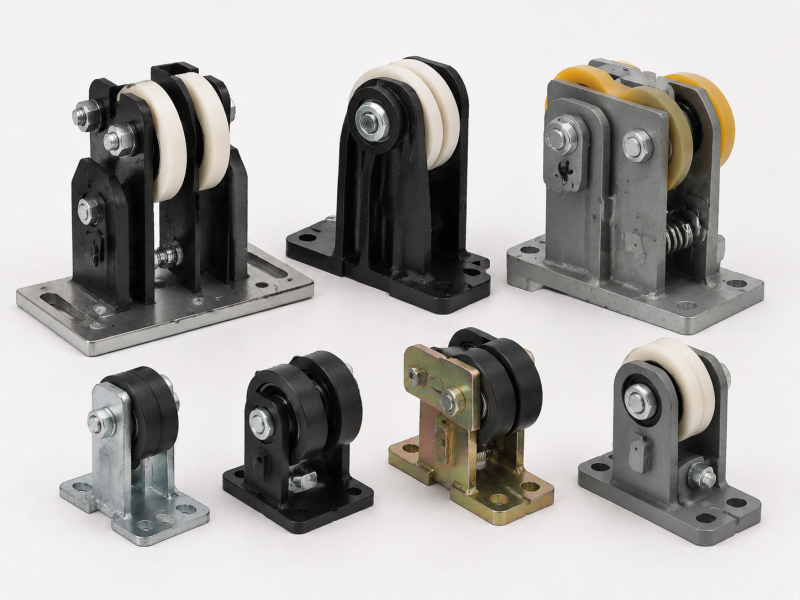
What is Elevator Shoes Dynamics in Hydraulic Vs Traction Elevator B091
When comparing hydraulic vs traction systems, ride quality depends heavily on guide components. Discover What is Elevator Shoes integration and how it optimizes performance across different elevator lift designs.
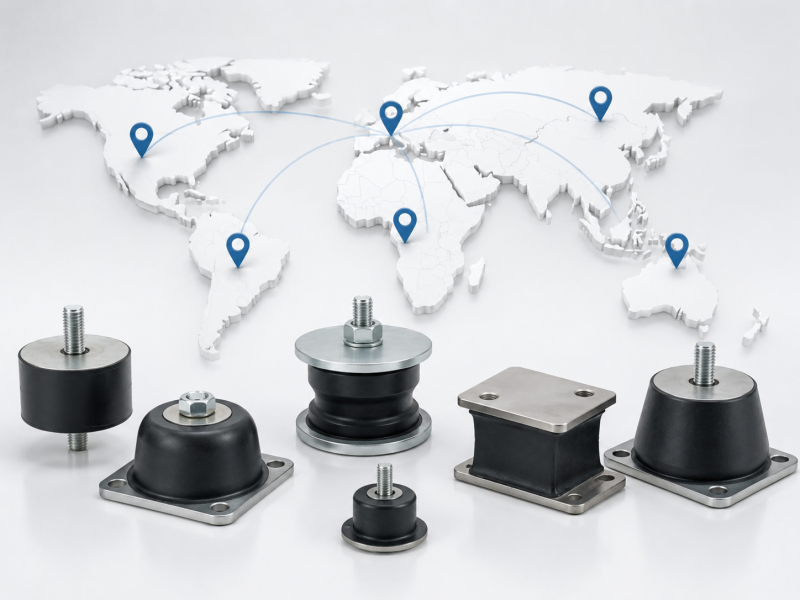
Rubber Mounts Near Me: Industrial Isolation Solutions Globally B080
Locating Rubber Mounts Near Me requires balancing local availability with world-class manufacturing. This guide explores how Ginotek provides premium vibration isolation and custom rubber solutions to industrial machinery manufacturers worldwide.
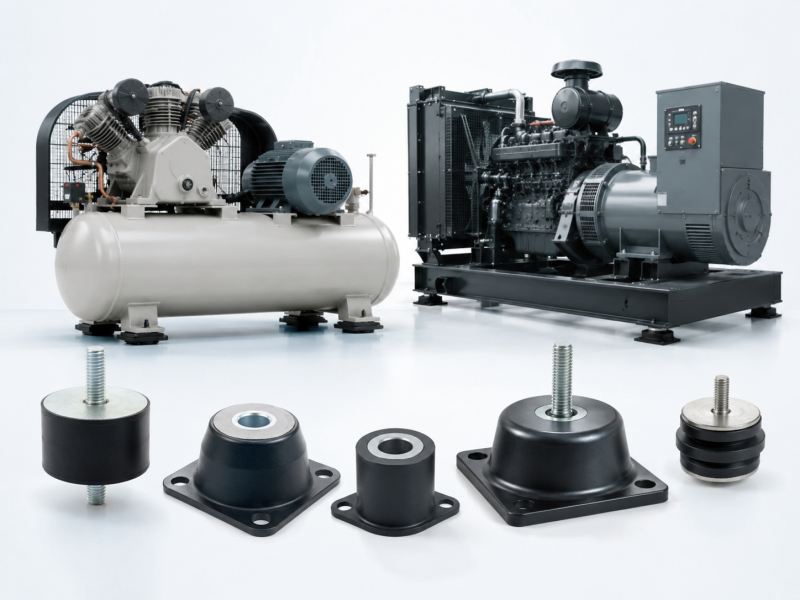
Heavy Duty Rubber Mounts – Ginotek Solutions B079
Discover how Ginotek's Heavy Duty Rubber Mounts eliminate destructive vibrations in compressors and generators, ensuring structural integrity, noise reduction, and long-term operational efficiency for global industrial manufacturing sectors.
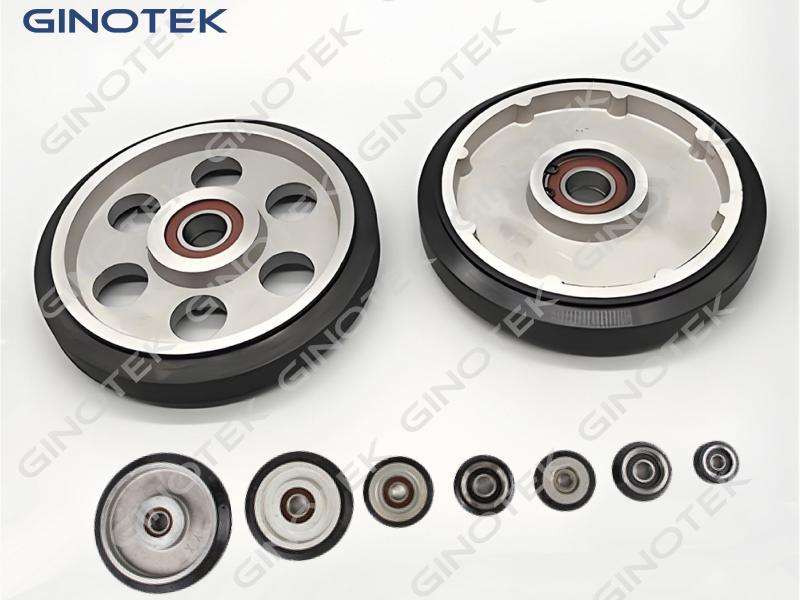
Roller Guides Elevator Selection: A Comprehensive Guide B077
Discover how to select the ideal Roller Guides Elevator based on building height, speed, and load, featuring Ginotek's tailored high-performance solutions for residential and commercial skyscraper projects.
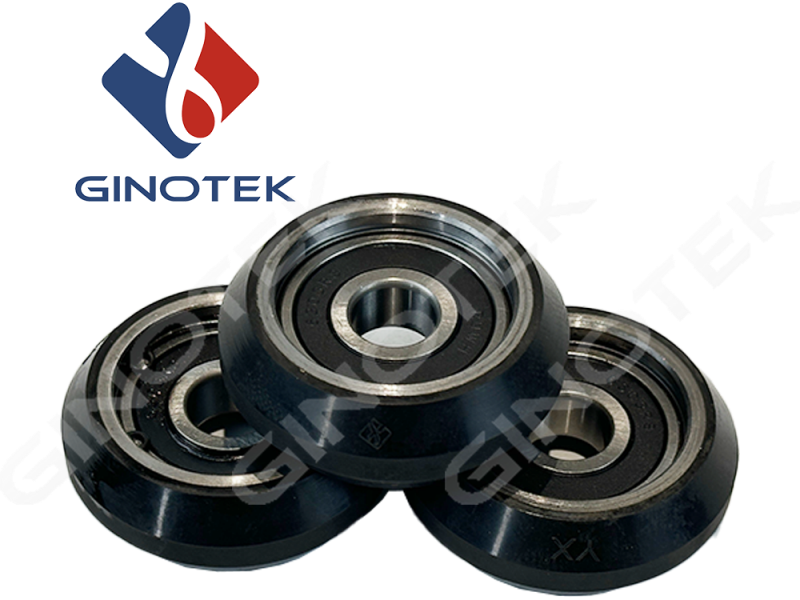
Lift Door Rollers: The Secret to Smooth, Stress-Free Travel with Ginotek B072
This article explores the critical role of Elevator Door Rollers in passenger satisfaction and how Ginotek’s advanced engineering solves common operational pain points like noise, vibration, and premature wear.
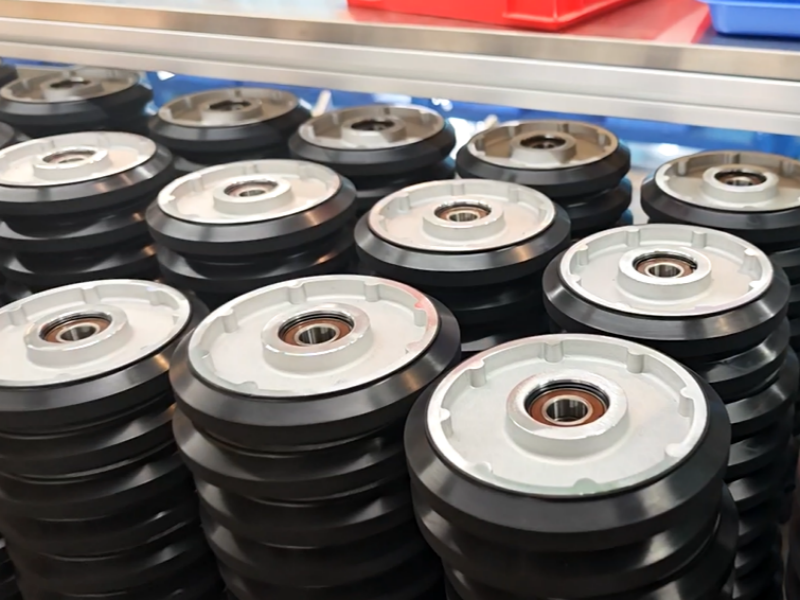
Elevator Hanger Roller vs Elevator Guide Roller: Key Critical Differences B071
Elevator roller components ensure safe, smooth and quiet operation. Many confuse hanger rollers and guide rollers. Ginotek supplies professional, customized rollers to help users make proper selection.
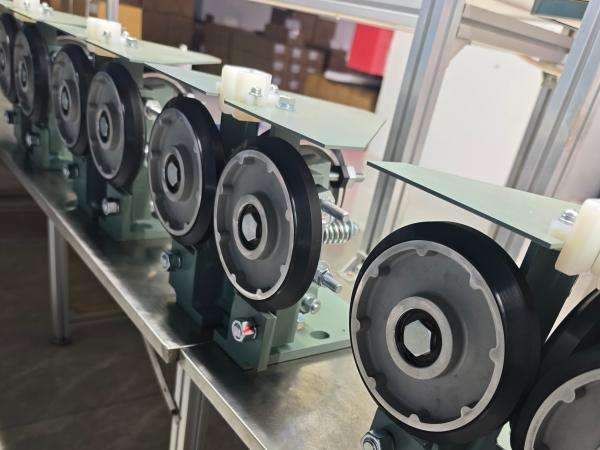
Elevator Guide Shoe Liner Replacement Cycles: Too Early or Late, Hidden Risks? B070
This professional guide explores the critical timing for replacing an Elevator Guide Shoe Liner, balancing cost-efficiency with passenger safety and long-term equipment reliability for modern building management.
Door Guide Shoe for Elevator: Enhancing Performance with Advanced Polymer Rubber Technology B069
This article highlights how Ginotek's advanced polymer rubber Door Guide Shoe for Elevator outperforms traditional materials, offering superior durability, noise reduction, and cost-efficiency for modern building vertical transportation systems.